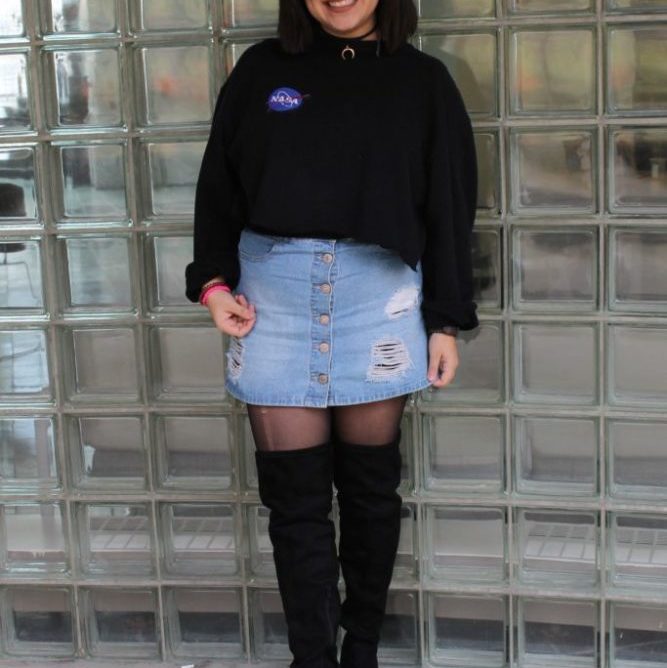
Doing it yourself has been all the rage for the past few seasons. Nowadays, you can DIY nearly anything from jewelry to dorm décor to patches on your clothes, which is exactly what this Fashionista did. When it comes to putting your own flare on a piece of clothing, it is extremely easy, even for us “lazy” college students.
Recreating this look is super simple, and I am about to tell you exactly how to do that. There are many different ways to create variations of this Fashionista’s look. The only things you are going to need are a denim skirt, a crewneck sweatshirt, scissors, cardboard, a box cutter, iron on patches, and an iron (or in this Fashionista’s case, a hair straightener)d.
Let’s get started with this DIY project! For this look, you can use any sort of top shirt you would like. In order to create her rad top, this Fashionista found an oversize crewneck from a Goodwill store. The first step to giving this look a rugged vibe is to simply cut the hemmed edges off the bottom and maybe even the sleeves of your chosen garment. The next step is attaching the patches. If you’re like me and you live in a dorm where a lot of things aren’t allowed, like irons, there is a simple solution. To attach the patches on this Fashionista’s shirt, she simply placed the patches in the desired spot and then pressed them on with a hair straightener until they were firmly stuck onto the fabric.
When it comes to recreating the skirt, it is a little more difficult and it is important to take every step carefully. First, you need to pick out the spots on your denim skirt where you want some distressing to happen and mark them with a piece of chalk or a pen. What I like to do when I’m distressing is place a piece of cardboard between the layers so you don’t accidentally cut both. The next step is simple, but proceed with caution. All you have to do to create the holes in your denim is to trace over your marked lines with a box cutter until it looks like your vision. After your cuts have been made, throwing the garment in the wash once or twice will give them a more frayed look.
Once you have completed each of the steps I have laid out above, your project is complete. To accessorize this look, simply add your favorite pair of knee-high boots and layer some funky chokers. Your DIYstressed look is now complete! To all my fellow Fashionistas out there, good luck and have fun with all of your future DIY projects.


