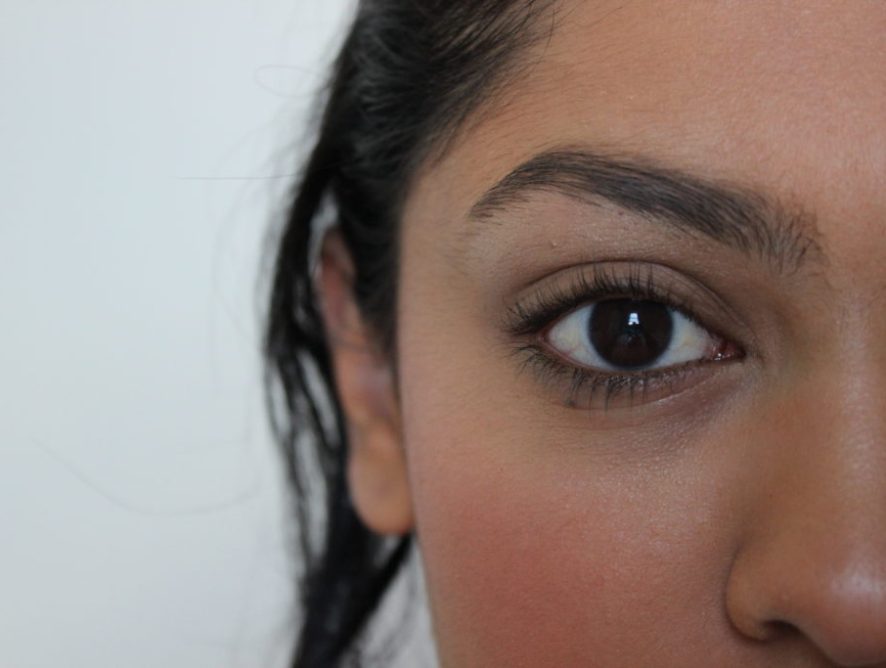
Have any of you ever struggled with doing your eyeliner? Trust me, I know. Who would have thought something as simple as drawing a straight line would actually be one of the trickiest things to nail in my makeup routine? There was a dark period of my life when my liner was never straight and was always uneven. Annoyed, I gave up wearing liner all together during this time. (See, I told you it was a dark period…)
Then there is the intricate balance of having your eyeliner work for you and against you. I’m looking at you, raccoon eyes. Smokey eyes can suddenly make you look like a hot mess if improperly executed.
If any of this resonates with you, have no fear, because I am about to teach you the easiest way to do your eyeliner that takes no more than a few minutes and will make you want to confidently rock eyeliner everyday.
First off, you will need four key items to achieve this look: gel eyeliner, matte black eyeshadow, an angled eyeliner brush, and a smudging brush of your choice.
You do not need to empty out your savings account to afford this look. For drugstore items, I absolutely love Maybelline’s Eye Studio Lasting Drama Gel Eyeliner and my Ecotools brushes. If you would like to use higher-end, luxury items, Bobbi Brown’s Long-Wear Gel Eyeliner is a cult favorite. For matte black eyeshadow, I love using MAC Cosmetic’s Carbon Eyeshadow, but there are numerous matte black eyeshadows available at the drugstore.

Step One: Start with a blank slate.

Step Two: Take your angled eyeliner brush and grab a bit of the gel eyeliner onto it. Make sure you don’t have too much product!

Step Three: For all you eyeliner veterans out there, try tightlining. Tightlining is putting eyeliner on your upper waterline, which makes your eyelashes look much thicker. This can be a tad difficult for beginners, but practice makes perfect!

Step Four: Now, grab a little bit more gel eyeliner on your brush and start to slowly form a line on your lid, as close to the lashline as possible. It is totally okay if this line isn’t straight, because we are going to be smudging it later.

Step Five: Now, grab some matte black eyeshadow on your smudging brush. Really pack it on there because the more eyeshadow, the better.

Step Six: Now comes the fun part! Start smudging out your eyeliner with the eyeshadow on your brush. Make sure you smudge all the way from the inner corner to the outer corner of your lid while also making the liner grows thicker towards the outside of your eye. This gives the illusion of thicker eyelashes and makes the eyeliner more flattering and feminine.

Step Seven: Once if you are happy with your line, just double check to make sure everything is even. If it is not, go back and repeat the last step until you are satisfied. Also, if your line is not as opaque as you want it to be, add some more product on your brush and smudge again.

Step Eight: Put on some of your favorite mascara.

Step Nine: Rock that eyeliner girl!

The brilliance about this look is that the products last forever, so you won’t see yourself buying eyeliner all the time and spending money. Next, since you “set” your gel eyeliner with some eyeshadow, this look has extra-long staying power. So that smudged eye look will definitely look intentional and not like you slept in your makeup from the day before. Trust me, it’s so easy to do that once you have it down, you’ll never have to worry about doing your eyeliner.
Any other eyeliner hacks I need to try? Let me know in the comments below!


