Surpisingly, there are very few steps to creating a patched denim jacket yourself; in fact, they barely qualify as steps in our book. So with this reassuring knowledge in hand, the CollegeFashionista team set out to recreate this trend from scratch. Clever patches and custom hashtag at the ready (check out #DIYwithCF if you haven’t already), we set out to see just how simple it actually was to make an amazing jacket of our own. Read on to find out how to transform your denim and prove to the world that you are a true DIY queen:
1—Pick your patches. You can have as many or as few as you like—it’s all about your vision and #aesthetic. Our patches had glue on the back, which made it simple to iron them onto our pieces.

2—Grab an iron. If you don’t know how to iron yet, learning that might be your first step (and an important lesson you probably need). Assuming you are a responsible college student, use your iron as normal and hold it over your patches with the non-decorative side touching the denim. I moved my iron slowly back and forth over my patch for about two minutes, which worked fine. Katie left the iron on her patches for about three minutes without supervision, however, which I would not recommend.

3—Honestly, there is no step three. Yes, it is that easy. Let your patch cool down for a minute or two, and then throw on your beautiful decorated new statement piece. Additional distressing to your denim is optional, but highly recommended by the CollegeFashionista team.

Denim is possibly the easiest and most fun kind of fabric to DIY. If you watched our #DIYwithCF Snapchat party, you would see that the possibilities are truly endless (if not, what were you doing on Friday night?). Grab whatever tools you want—tweezers, an iron, a needle and thread—and get crafting.
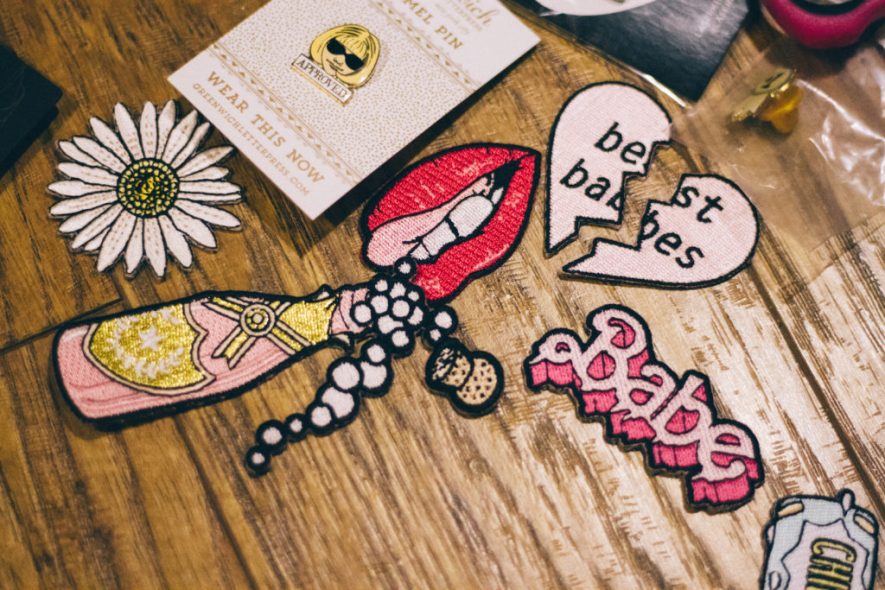
The patches featured here can be found at Wildflower + Co., Greenwich Letterpress, Forever 21 and ban.do.

